As the excavation at Fort Canning Archaeological Dig Site was conducted as part of the preparation and renovation of the site for the Bicentennial, the aim of the research team was not to excavate to maximise the recovery of artefacts, but rather 1) to level the top of the 14th-century layer and in the process reveal the artefacts found in situ, and 2) to vertically straighten the stratigraphic profile so that the three natural layers of soil could be distinguished easily in the main section of the site. The three natural layers are: Lot 1(topsoil and 20th-century layer—light brown), Lot 2 (the 19th - and early 20th- century colonial layer—red laterite mixed with clay), and Lot 3 (brown layer dense with precolonial artefacts). The fourth layer (Lot 4) is sterile and comprises yellowish clay and can be observed only in the vertical profile of squares X, XI, XII, and XIII, half of which had previously been excavated down to the sterile layer.
As the dig site is an open site (in the sense that other than the roof, the sides of the site are exposed to the natural environment), moss tends to grow on the surface of the soil, which therefore requires an annual “scrape” to reveal the soil. As new pathways were to be constructed at the site, the team excavated square units 27, 28 and 29 and part of square XV down to the top of the 14th-century layer (see Plan of Fort Canning Excavations above) in order to reveal the artefacts found in the 14th-century layer as part of the exhibition.
In terms of the excavation strategy employed during this dig, the excavation team and volunteers dug through the top two layers (Lots 1 and 2) using an assortment of tools comprising pick-axes, cangkul, beliung (hand adzes often used in wood-working), and trowels. The diggers removed Lots 1 and 2 according to arbitrary levels (10cm thick) and bagged the artefacts recovered according to the excavation units in which they were found. The top two layers were disturbed, but the team had to make sure that the artefacts were bagged according to their square units and lots. This was to prevent possible mixing of items.
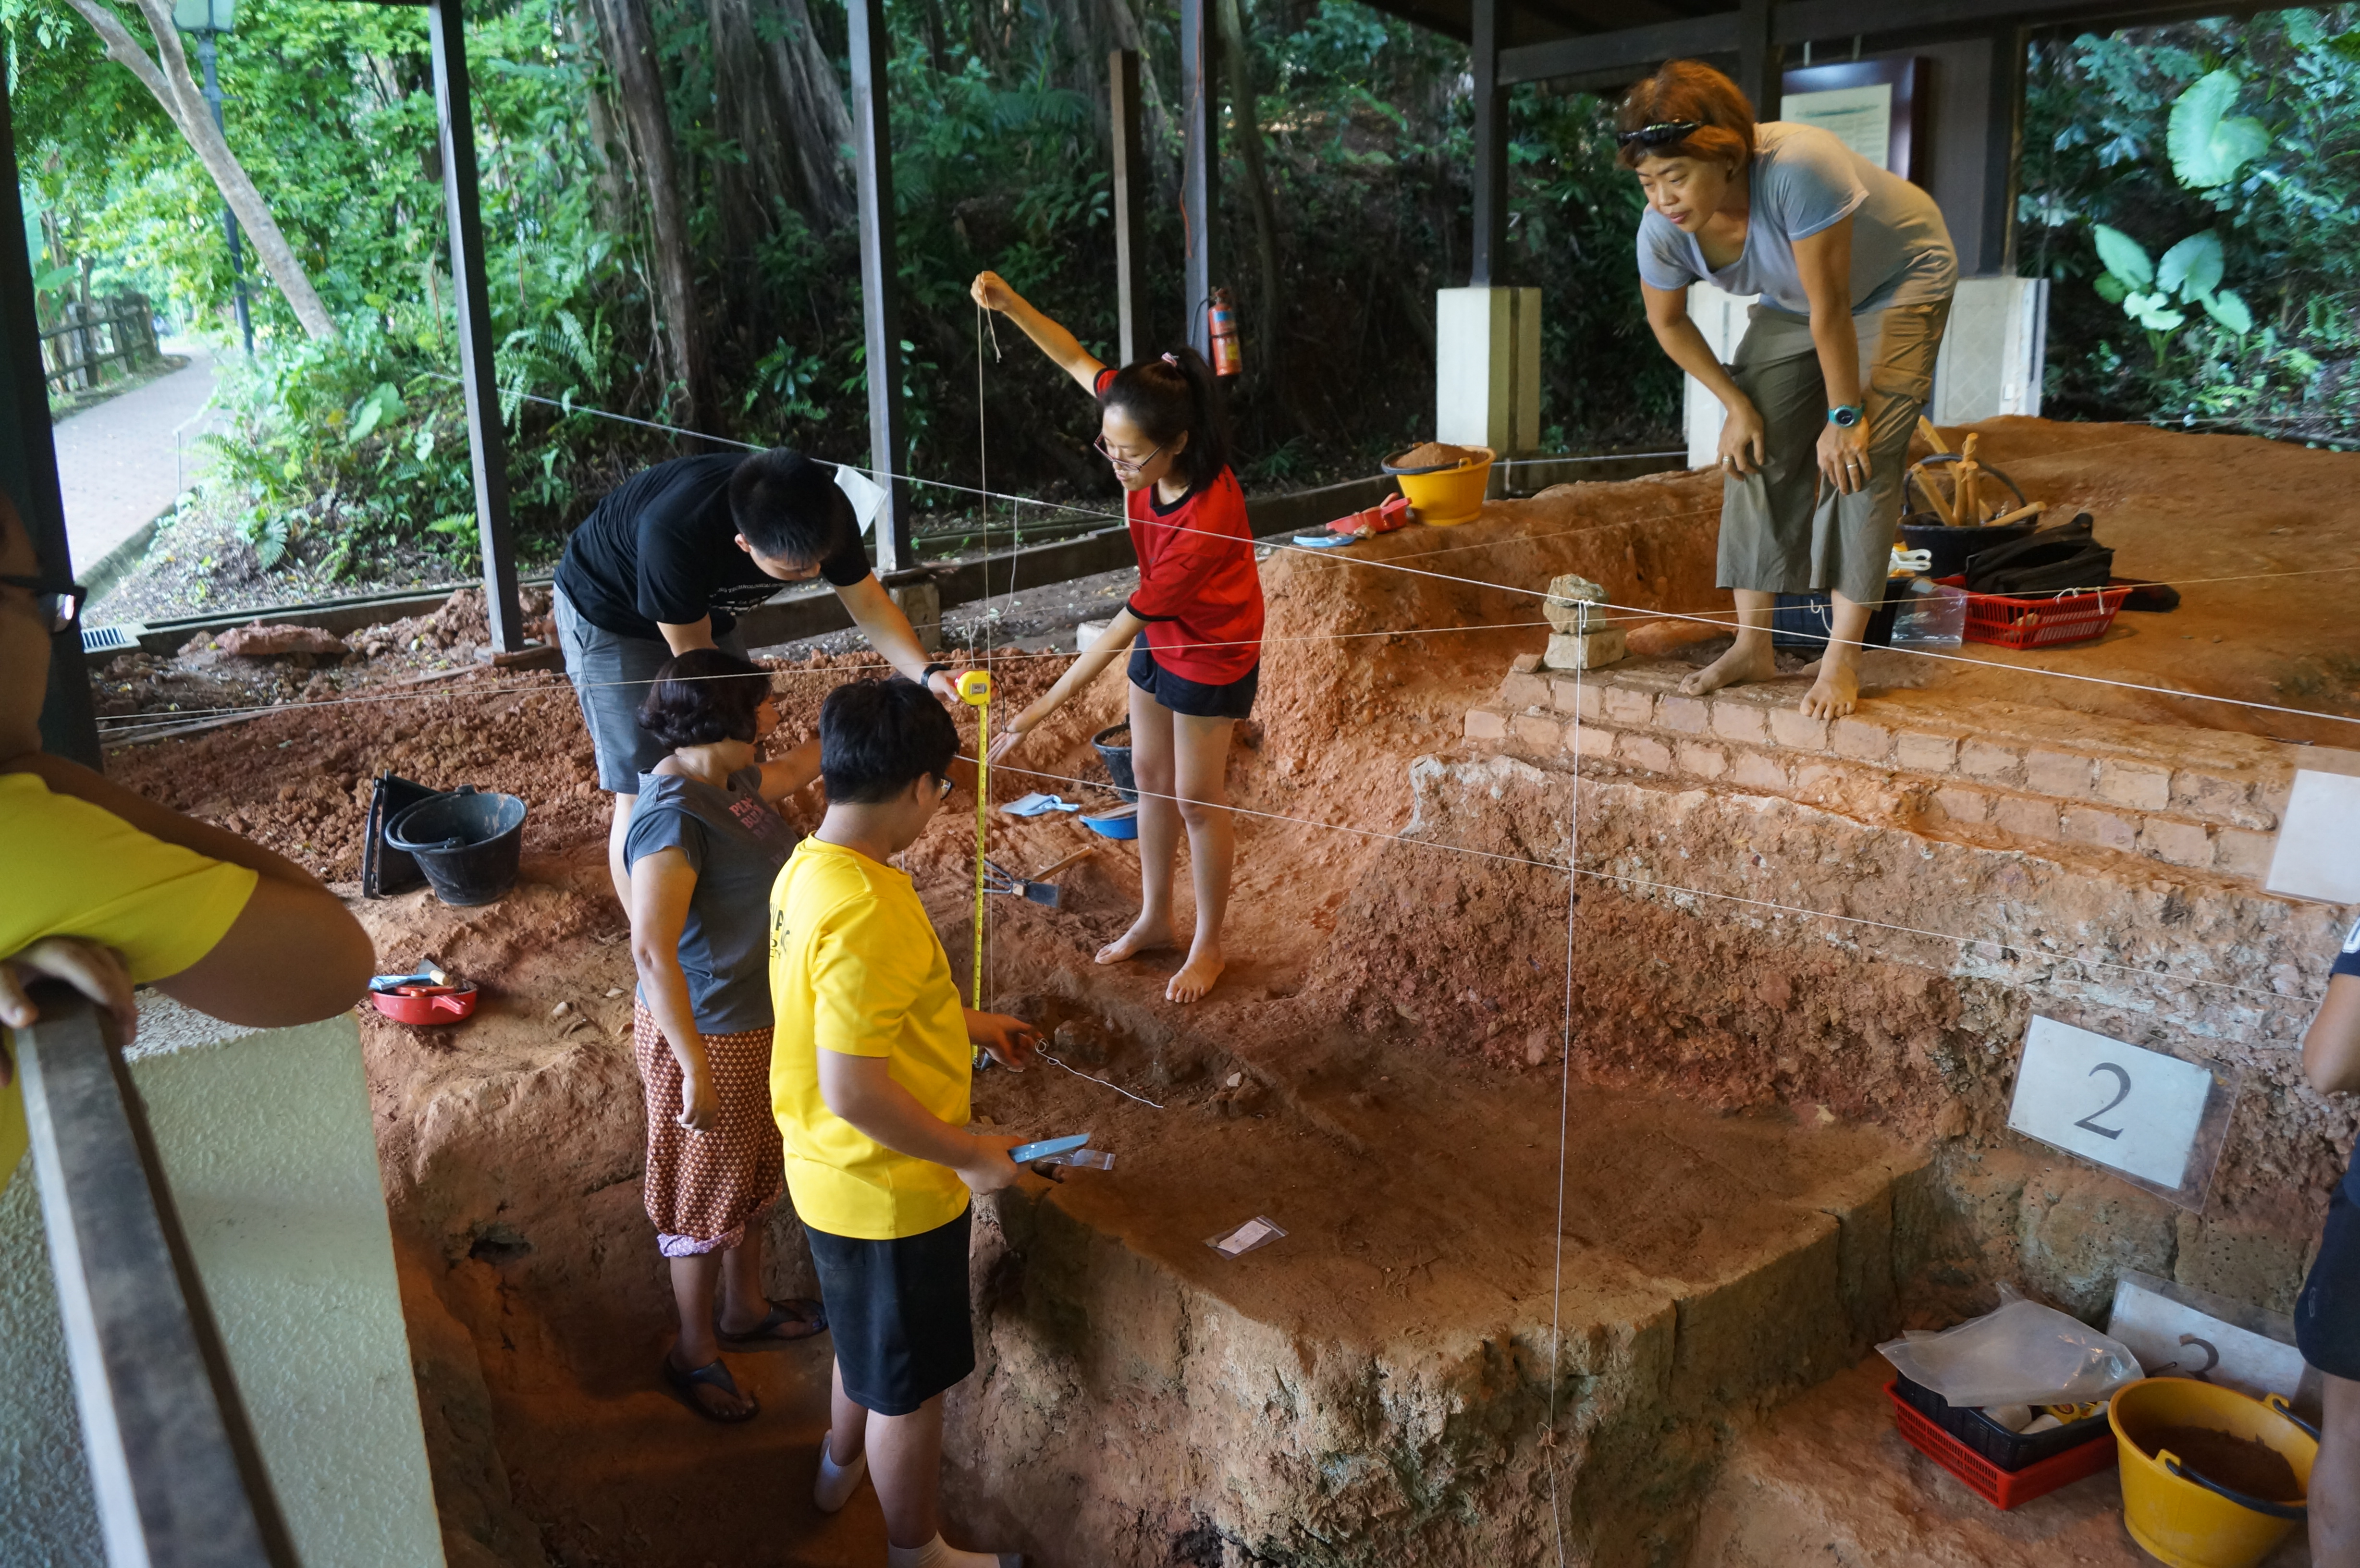
Once the excavators reached the bottom of Lot 2 and were able to see the transitional layer that marked the top of the 14th-century brown soil layer, the team of diggers had to dig in arbitrary levels of 1 cm thickness across the square unit. The rationale for this was to ensure: 1) level digging, and 2) careful excavation, which was required to ensure that the artefacts were exposed cautiously without breaking or becoming dislodged, as the 14th-century layer is dense with artefacts. At the Fort Canning dig site, the excavators plotted each individual artefact according to the nearest centimetre according to a three-dimensional grid (north-south-depth below site datum) before the artifacts were lifted from the soil and bagged. During this project, the team only plotted and removed the artefacts that were loose in order to prevent their loss. Those artefacts firmly embedded were left in situ.
One of the key points to note in archaeology is that archaeology is a destructive process: once we dig a site, we cannot return it to what it was before. This is an important point that we emphasise to our students and volunteers, which is why there is no rush to excavate sites in order to recover artefacts unless these sites are threatened by development.
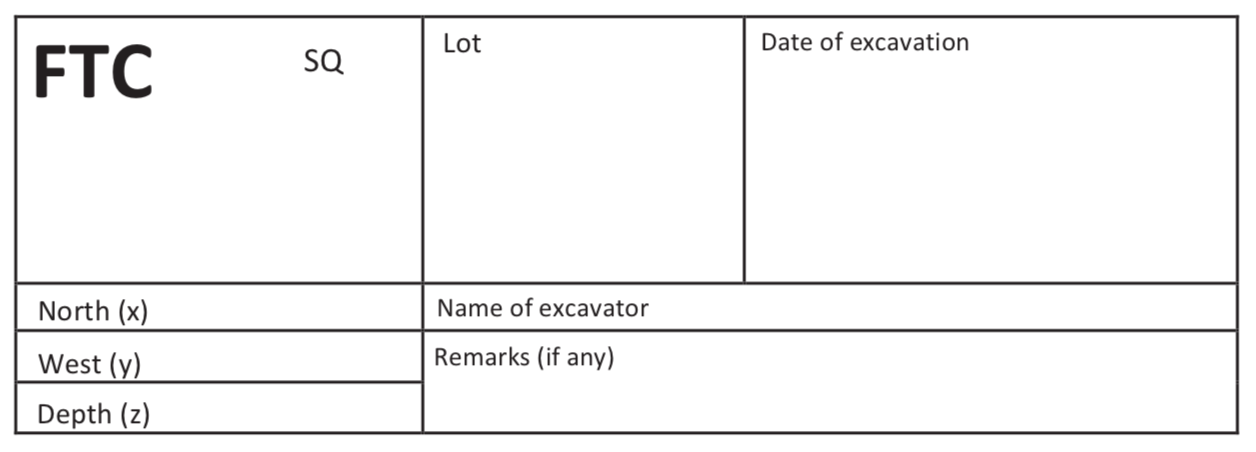
At the Fort Canning dig site, each individual artefact was plotted before it was bagged and taken to the lab for processing. The data collected is as follows: Site Name, Square Unit, Lot Information (natural layer), Date of Excavation, Depth (vertical depth from the ground surface level to the datum point of the site), North–South, and East–West distances, Excavator’s Name, and Remarks.
The reason why the team collected the X-Y-Z information for each individual artefact is to allow us to re-plot these artefacts graphically so that the team can analyse the distribution of types of artefacts (by material) within the site spatially and vertically, and note the association of different types of material. Another useful analysis is to examine the size and forms of the vessels (if the sherds are large enough to derive this information). In due course, the team aims to produce a three-dimensional model of the site. In this regard, the procedure used by the team at the Fort Canning dig site differs from that employed at excavations at other archaeological sites, such as Singapore Cricket Club (SCC), St. Andrew’s Cathedral (STA), etc where the team excavated and bagged artefacts according to Spits (arbitrary levels of 10 cm each which were assigned to each natural stratigraphic layers [lots 1, 2, 3 etc]) without more precise plotting.
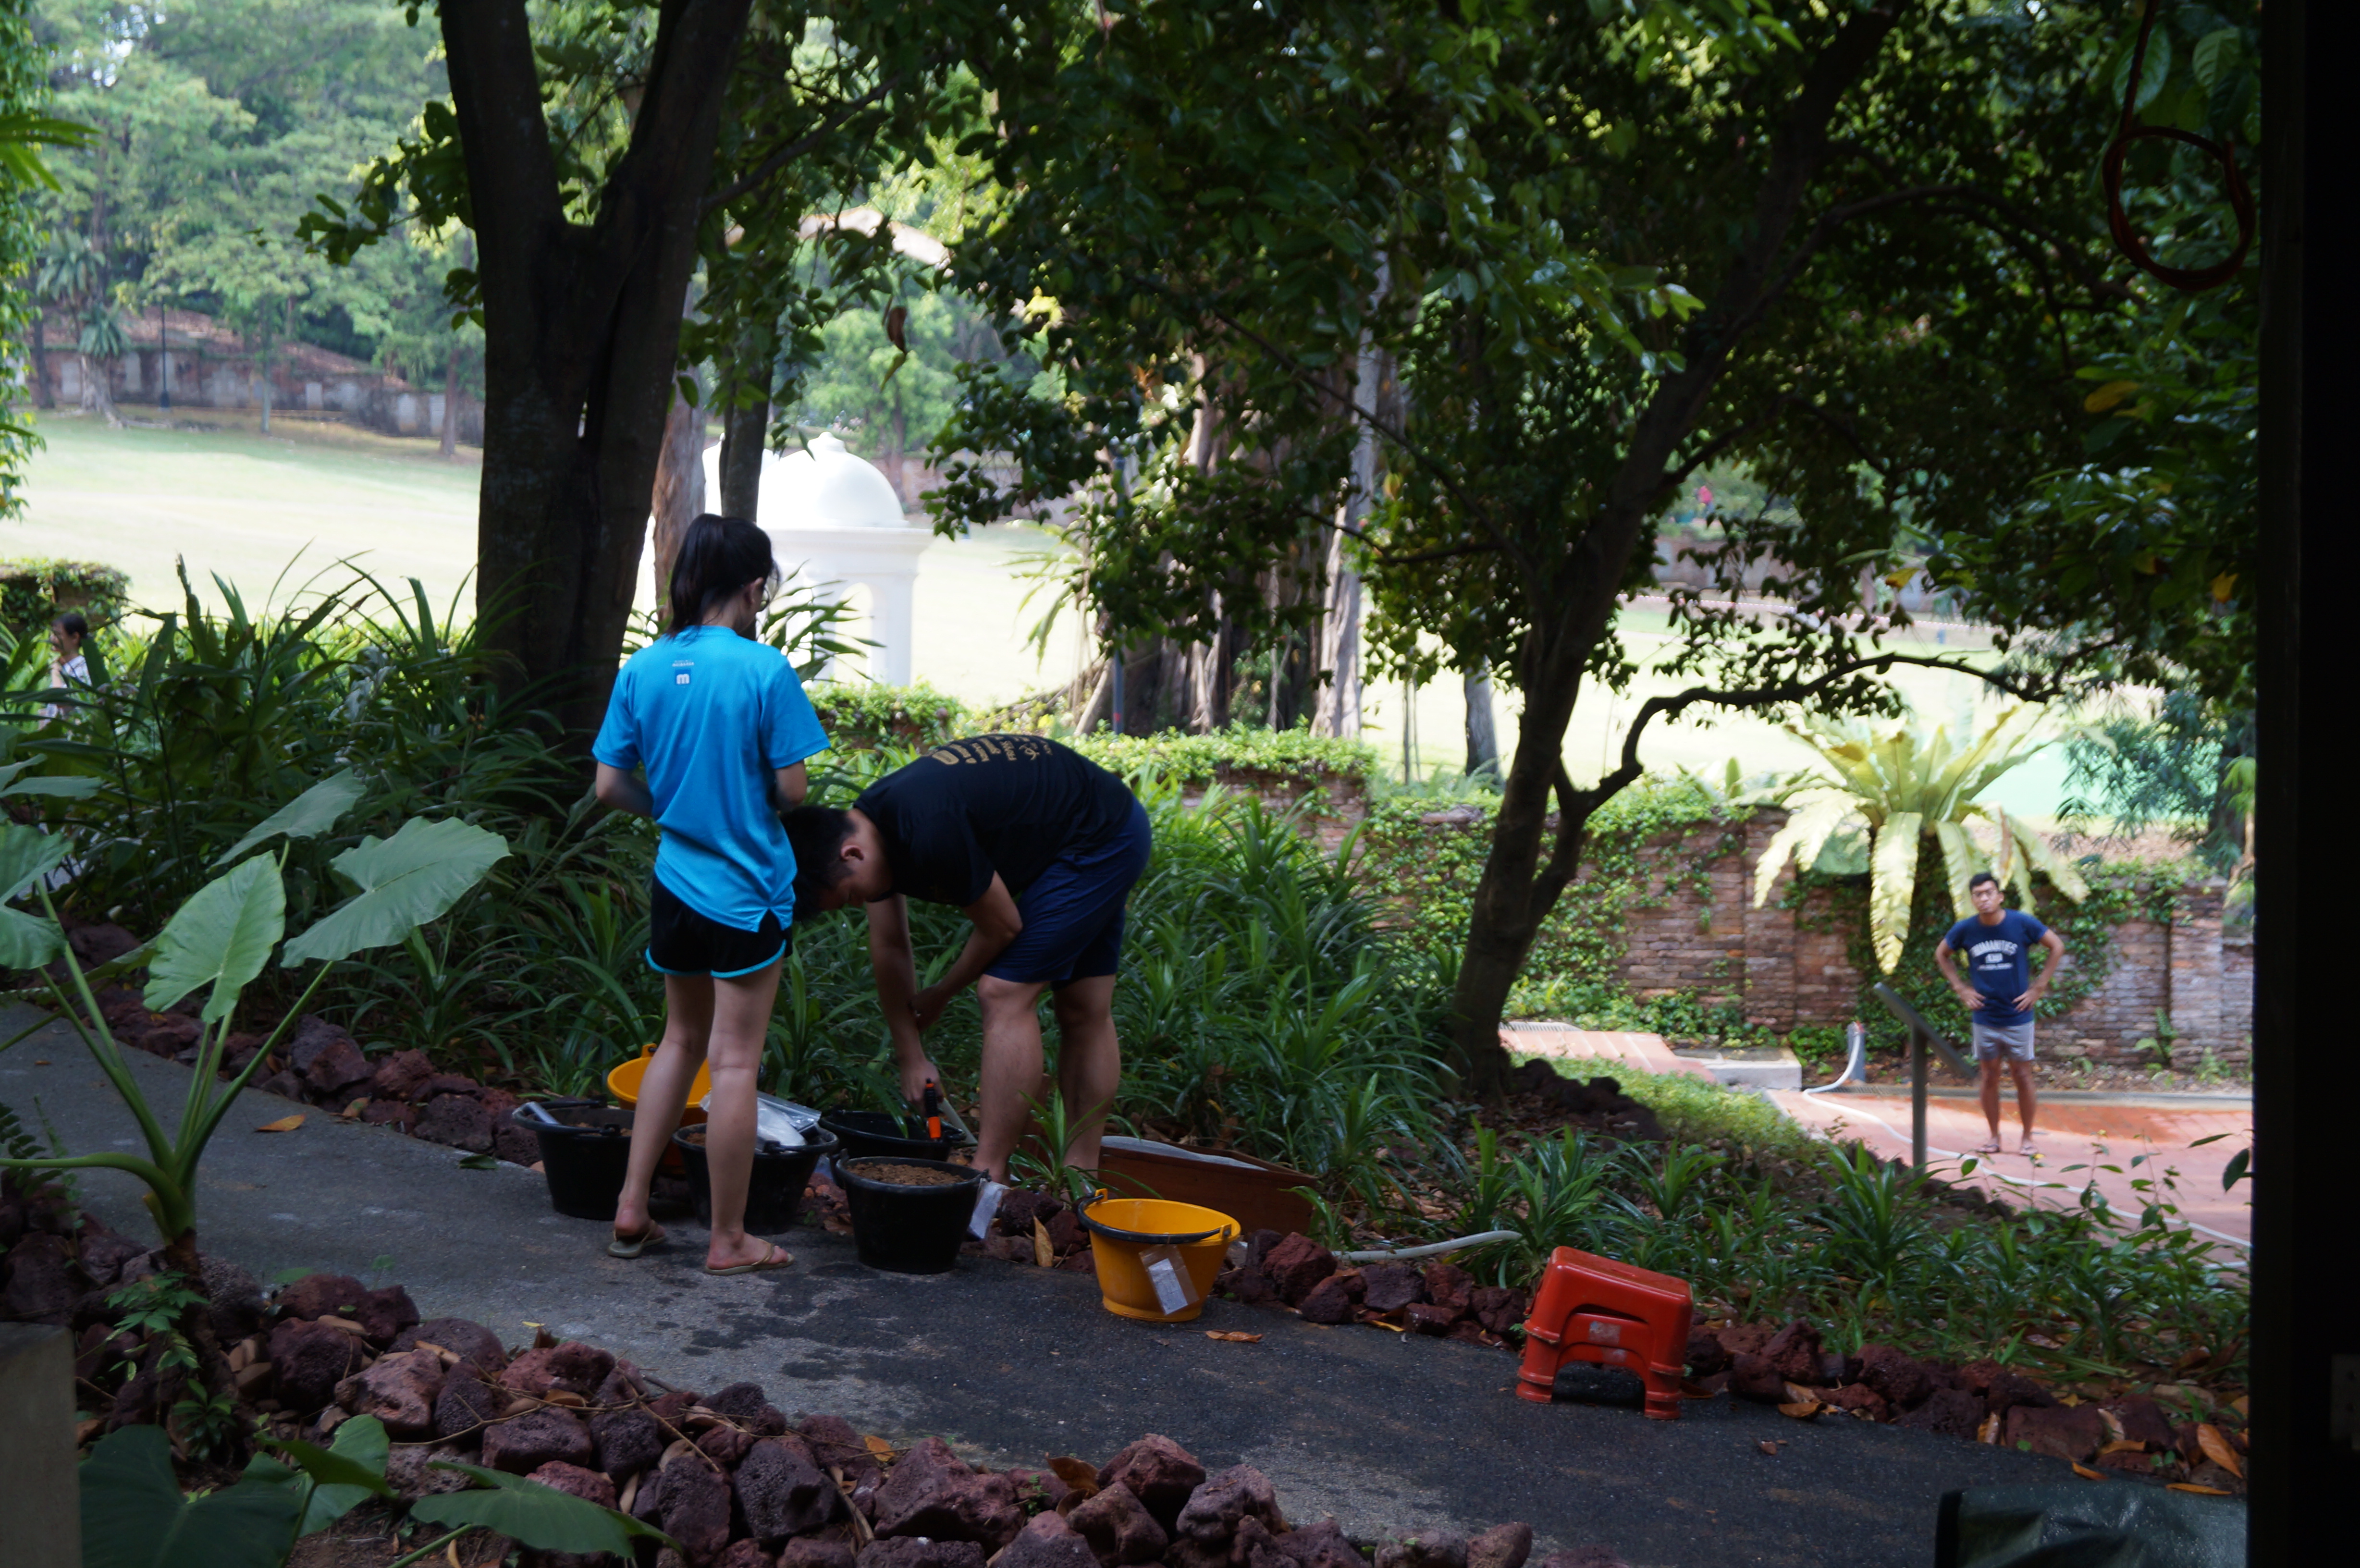
The soil excavated from each square unit was placed in buckets and tagged; this was water-sifted using the wet-sifting method. The reason this is done is because the 14th-century soil on Fort Canning is a combination of clay and sand that forms hardened clumps which are not easy to sift without risking breakage to artefacts unless water is used. Wet sifting involves a water hose with a sprayer attached to one end. The soil in the bucket is first soaked in water before the mixture is poured onto a sieve which is made of 2 mm wire mesh. The sifting process allows the archaeologists to recover small finds such as fragments of artefacts and small beads.